To change your IMEI number, you can switch the SIM IMEI using your phone’s dial pad to change it.
You’ve to enable the USB debugging option and connect with your PC to change your original IMEI number and replace it with a new one.
Contents
How To Change IMEI Number Permanently:
There are several methods that you can use to change the IMEI number of your device without rooting it.
Below are the two best methods that you can use to change your IMEI number without rooting your device:
1. Switching to SIM IMEI
You can switch the SIM IMEI using your phone’s dial pad to change it.
You’ll be able to perform this method of changing the IMEI number by following the guiding steps that are mentioned in detail below:
Step 1: For the first step, head on to the application section of your phone to open the dial pad by clicking on the Phone application.
Step 2: As the dial pad is opened on your screen, you need to dial either *#*#3646633#*#* or *#7465625#.
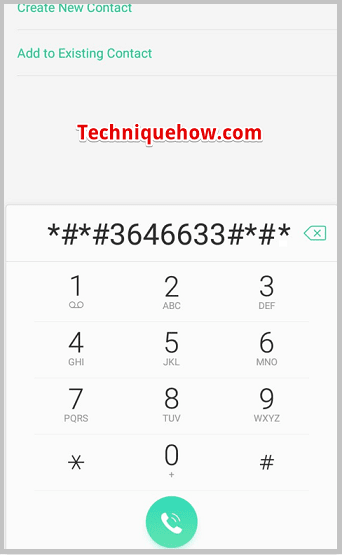
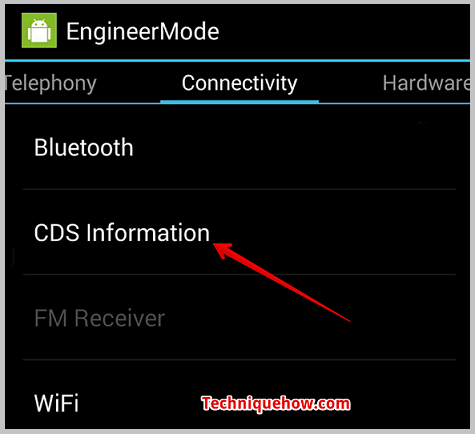
Step 3: Next, you need to click on CDS Information.
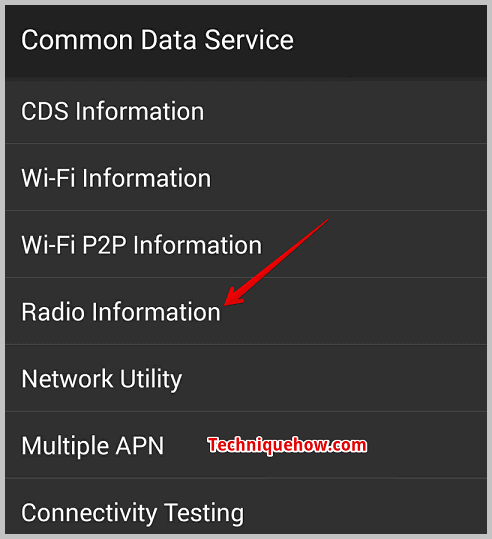
Step 4: Then you have to head on to click on Radio Information.
Step 5: Then if your Android device has dual SIM, you’ll be given to choose between two options IMEI_1 (SIM 1) and IMEI_2 (SIM 2).

Step 6: You’ve to select the one whose IMEI number you want to change.
Step 7: Then your screen will be flashing with a message similar to AT +EGMR=1,7,” IMEI_1” (for SIM 1) and “AT +EGMR=1,10,” IMEI_2” (for SIM 2).
Step 8: Next, you need to replace the IMEI1 and IMEI2 numbers with any other random IMEI Numbers of your wish and then click on SEND.
2. Change IMEI Number on MTK Device
You can change the IMEI number for the MTK Devices without rooting the device. You’ve to follow certain particular steps to get it done right, this method works for non-rooted devices.
The following point has all the guiding steps that you need to perform to change the IMEI number for the MTK device:
Step 1: Check your access to the developer’s option. If you don’t have access, tap several times on the Build number to enable it.
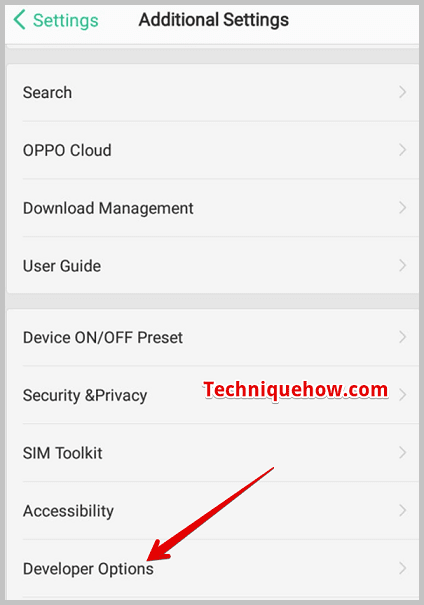
Step 2: Next, you’ve to go back to the developer’s option and then enable the USB debugging mode.
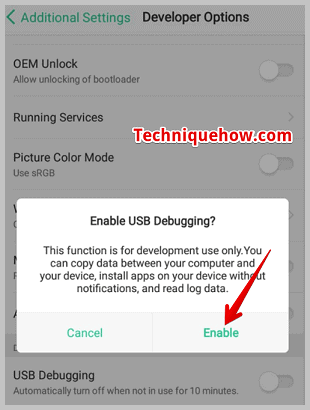
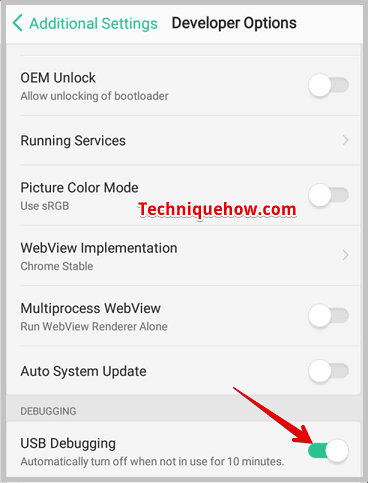
Step 3: Connect your smartphone to your computer using a USB cable.
Step 4: Now on your computer run the MTKdroid tools as administrator.
Step 5: Next, you have to press that ROOT button to get temporary access to the root and wait until the left side small box turns green.
To change the IMEI number you’ve to click on the IMEI/NVRAM option. Erase the old IMEI Numbers and enter the new ones then click on Replace IMEI, and confirm it by clicking on Yes on the next box that will flash on the screen.
How To Change IMEI Number Permanently with Root:
You can use the SDK to change the IMEI number of your Android device, this method needs to be performed on a PC that needs USB Debugging.
🔴 Steps To Follow:
Step 1: You need to open the Settings of your Android device. Then scroll down and click on About Phone.
Step 2: Next, you need to click on Build Number 5 to 8 times till it shows you the pop-up message on the screen that says You are now a developer.
Step 3: Then you will be able to find a set of options under Developer Options.
Step 4: Click on Developer Options and then click on USB Debugging. Then you need to download the SDK emulator Tool on your PC.
Step 5: Along with it download HEX Editor and extract them. Download a device driver too.
Step 6: Connect your Android with your PC. You need to run the program name xvl32.Exe. Then you need to open the file named emulatorarn.exe.
Step 7: After all the steps are completed, click on Control+F and then go to the CGNS. Next, change the IMEI number which is shown after + CGNS.
Step 8: On your Android device, check the new IMEI number by dialing*#06# on the dial pad.
Conclusion:
The final thought is, that changing your IMEI number can be done by using your phone’s dial pad or using the root access. While the process may seem complex, following clear step-by-step instructions can simplify the task.

