Facebook allows only the admins of the business pages to have control over the Settings of the page. You can unlink WhatsApp from a Facebook page by disconnecting the WhatsApp account from it.
After you disconnect the WhatsApp number from your Facebook page, it will no longer be connected to any WhatsApp account.
If you just want to remove the WhatsApp button from the page, you can do that by simply turning off the option of Use WhatsApp as Page Button. This will remove the blue WhatsApp button from your Facebook business page.
Contents
How To Unlink WhatsApp From Facebook:
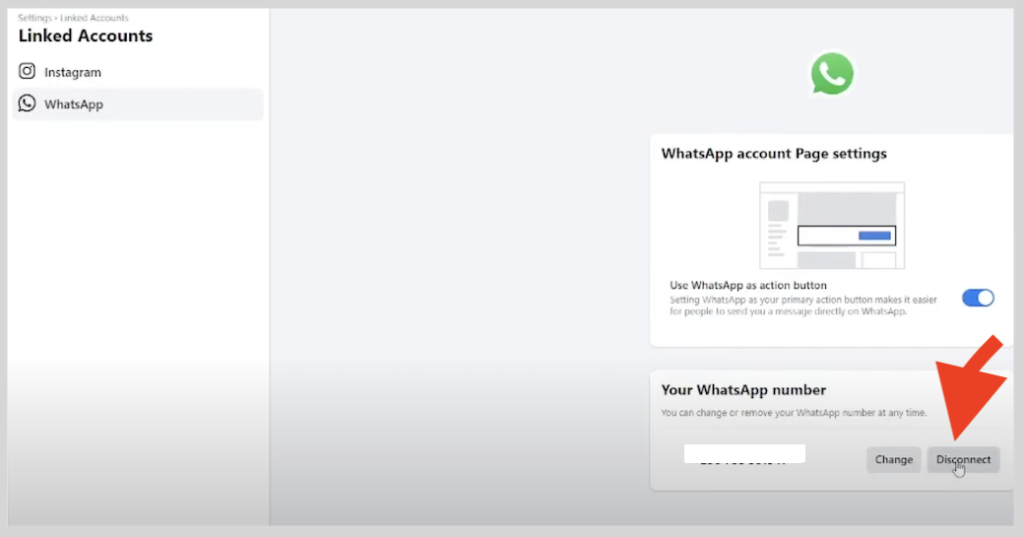
If your Facebook page is connected to your WhatsApp business account, you can remove the WhatsApp number from the page by disconnecting your WhatsApp account from your Facebook business page.
🔴 Steps To Use:
Step 1: Open the Facebook application.
Step 2: You’ll need to click on the three horizontal lines icon to get to the next page.
Step 3: There, you’ll be able to see the option Your Page under your profile name. Click on it.
Step 4: You’ll be taken to the next page, where you’ll find the names of the Facebook pages that you’re running from your account. If you are running more than one Facebook page, you’ll be able to see all the names of pages listed one by one.
Step 5: Click on the page from the list from which you want to remove your WhatsApp number.
Step 6: On the next page, click on the Settings icon sighted as a wheel at the top right corner of the screen to proceed with the method.
Step 7: You’ll be able to see the option of WhatsApp on the list of choices. Click on it.
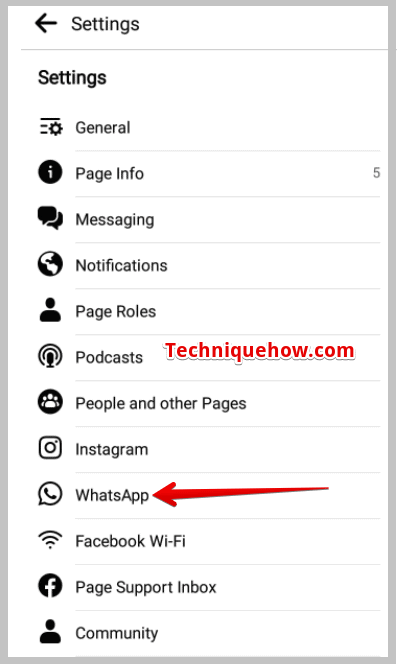
Step 8: It will open up the WhatsApp Account page.
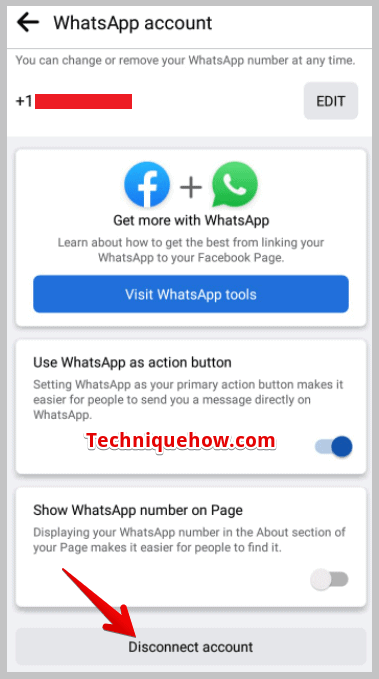
Step 9: Scroll down the page to see the option Disconnect account in red. If you click on this option, your Facebook page will be disconnected from your WhatsApp business account.
Step 10: Click on Disconnect Account and then you’ll find a pop-up message seeking confirmation of your action, click on Disconnect.
Now the Facebook page has been disconnected from your WhatsApp account, but if you want to link it again you’ll be able to do that by clicking on the ‘Add WhatsApp’ button.
How To Remove WhatsApp From Facebook:
To remove the WhatsApp button on the Facebook page, you’ll need to turn off the WhatsApp Page button option from the Settings of your Facebook page.
1. From Facebook App
You can try the following steps:
Step 1: Open the Facebook application.
Step 2: Click on the three horizontal lines icon at the top right side of the screen.
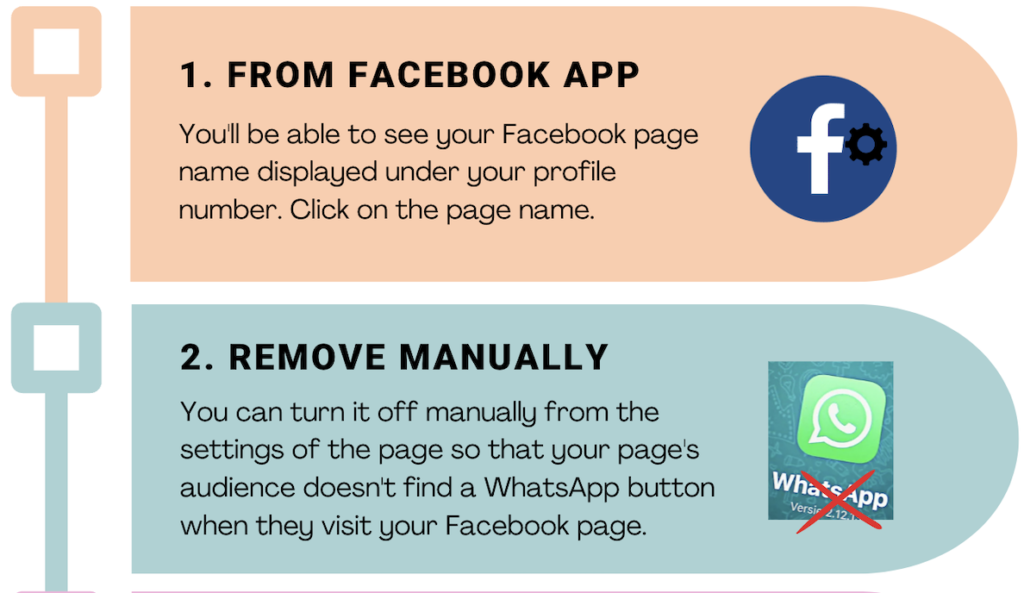
Step 3: You’ll be able to see your Facebook page name displayed under your profile number. Click on the page name.
Step 4: On the top panel, you’ll be able to see different options displayed side by side.
Step 5: You’ll need to swipe through the various options to reach the last one i.e. More. Click on it.
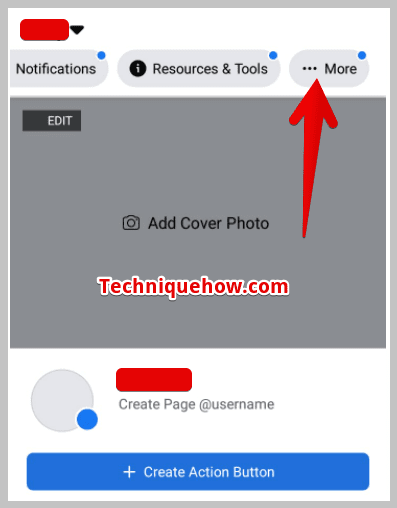
Step 6: It will take you to the next page, where you’ll find a list of different options displayed for you to choose from.
Step 7: Scrolling down the page will help you locate the option of Settings. Click on the Settings option to get to the next page.
Step 8: You’ll be able to see the option WhatsApp that is displayed below Instagram, click on it.
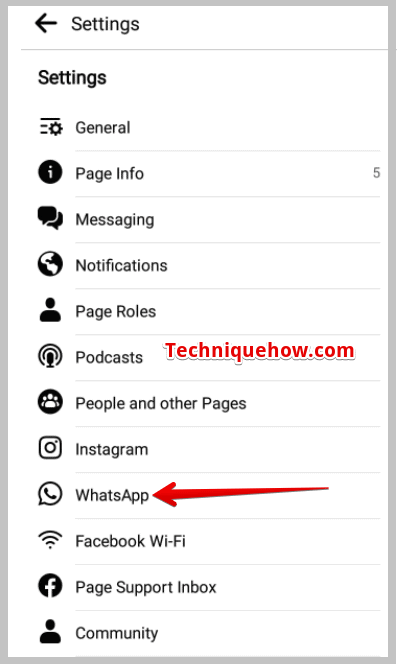
Step 9: On the next page, you’ll see the toggle button next to Use WhatsApp as Page Button is on. Turn off the toggle button to remove the WhatsApp button from your page.
This will remove the WhatsApp option from your Facebook page, clicking on which previously led the customers directly to the WhatsApp account of the page.
If you wish to have the WhatsApp button back on your page, you can turn the toggle button on.
2. Remove WhatsApp Button Manually
If you want to remove the WhatsApp button that’s linked to your Facebook page, you can turn it off manually from the settings of the page so that your page’s audience doesn’t find a WhatsApp button when they visit your Facebook page.
The steps below will help you know how to remove the WhatsApp button from a Facebook page:
🔴 Steps To Follow:
Step 1: Open the Facebook app.
Step 2: Then enter your Facebook login details to log in to your Facebook account, and click on the three lines icon.
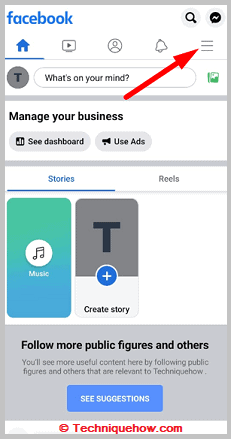
Step 3: Then click on your page name that’s displayed under your profile name to enter your Facebook page.
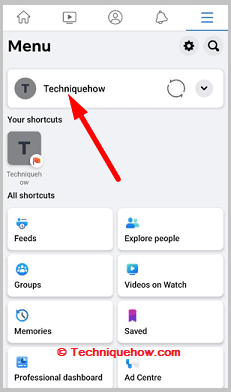
Step 4: Swipe to the left through the categories provided at the top panel.
Step 5: Click on the three-dots icon.
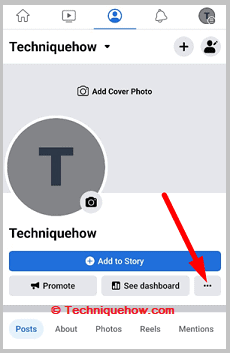
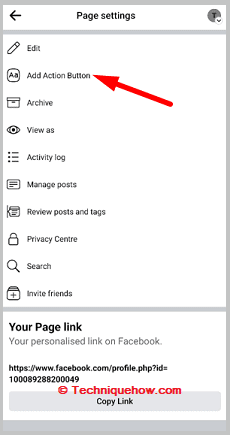
Step 6: Then from the list of options, click on Add Action Button.
Step 7: Tick the switch that’s located next to the Send WhatsApp message to turn it off.
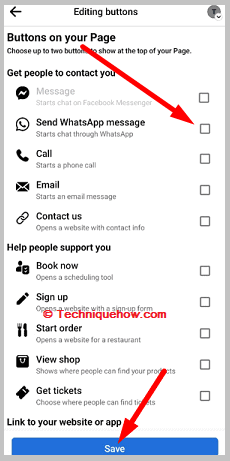
The WhatsApp button will be removed from your Facebook page.
3. Hide From Facebook Posts
On your Facebook page, you may have previously added posts to run ads. On these posts, there’s a WhatsApp button that gets any user directly to your WhatsApp chat page as soon as the person clicks on the WhatsApp button.
🔴 Steps To Follow:
Step 1: You’ll need to first open the Facebook application.
Step 2: Log in to your Facebook account. Next, you’ll need to click on the three-line icon.
Step 3: Then you’ll find your Facebook page name on the Menu page, then click on it.


Step 4: Now scroll down to the posts.
Step 5: Click on the three dots icon located at the top right corner.
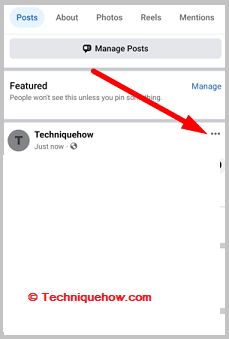
Step 6: Then click on Move to Recycle bin post.
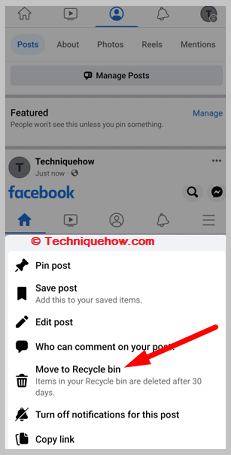
Step 7: Confirm it by clicking on Move to Recycle bin.
Now the WhatsApp button will be removed as the ads won’t show up anymore.
Conclusion:
The bottom line is, that to unlink WhatsApp from Facebook, you can take a few methods. First, within the Facebook app, go to your page settings, find the WhatsApp option, and toggle off “Use WhatsApp as Page Button.” Alternatively, manually remove the WhatsApp button by going to your page settings, clicking on the “Add Action Button,” and turning off the “Send WhatsApp message” option.

